Writing a post about setting up at home photoshoots feels frivolous, if I’m being honest. The world feels like it’s practically stopped spinning and here I am giving you advice on taking pretty pictures.
But here’s the thing: I think it’s important to shift your focus away from the bad. In therapy I’ve learned the one thing you can always control is your reactions to what you can’t control. And right now, I can’t control this scary pandemic or the fact that I need to shelter at home. But I can make the most of it and get my creative juices flowing. I’ve been having fun creating sets and doing at home photoshoots for the past few weeks.
I’m lucky that I’m used to working from home. I’ve even shot a fair share of content at home before it was my only option.
I miss the freedom of executing blog shoots exactly as I had planned. But the challenge to pull things together for at home photoshoots has been fun. What has been even more fun has been seeing how creators are handling this curveball and killing the content game without leaving their house.
I’ve found a lot of inspiration for shooting content at home, and thought I’d share my tips.
Shooting content indoors: what to consider
It can be hard to feel inspired by your own home. Afterall, you spend most of your time there and it probably doesn’t spark as much excitement as locations you’re not used to seeing all day every day.
But I’m willing to bet that your home has some pretty magical corners if you know what to look for.
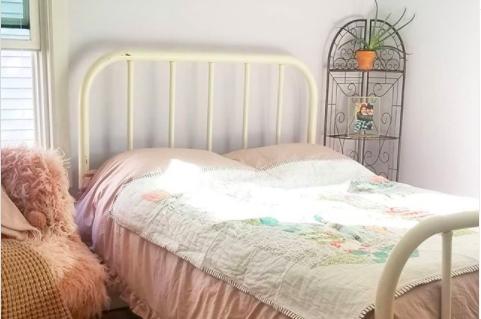
When I’m shooting at home photoshoots, here are a few of my primary considerations:
- Lighting: this is important whenever / wherever you’re shooting but it can be extra tricky indoors. For me, I try and find areas in my home directly across from a window or somewhere with interesting lights and shadows. I also cheat and use a ring light, especially for backlit pictures. This is the one I use, and here’s a cheaper alternative, too. I recommend all content creators invest in one.
- Background: of course, this is a big deal but not necessarily as much as you might think. You can always adjust your camera’s aperture to blur the background in which case the ~aesthetic~ and tidiness doesn’t matter as much as the tones in the background. If you want your background to be in focus, make sure it’s picked up! I see a lot of almost great IG pictures ruined by a distracting mess in the background. (And I myself have been guilty of this as well, haha.)
- Props: Unless you live in a castle, you likely will have to reuse the same background. Changing up props can give the picture an entirely different feel. Even if you’re trying to highlight your outfit, I believe it’s important to add extra interest to the picture. Tens of thousands of outfit posts are posted daily, adding some sort of prop or creating a theme within your photo allows you to stand out. Kylie Katich is a great creator to look at for this – she lives in a tiny apartment but you’d never guess because she does such a great job with her set creation and use of props.
- Posing: Gone are the days of blogger photos standing square in front of the camera, hand on your hip, and smiling. If you want your content to stand out on the feed, this is where you can get really creative. When I’m scrolling through my feed, I like to bookmark pictures with compelling poses for me to reference later on. Quigley Goode is incredible at creating interesting shapes and dynamic movement in her posing.
- The edit. If you don’t have many crops or creative ideas right now, the edit can save you. I love using photoshop to take a boring picture and making them into something incredible. And sharing the before and after of my picture always gets me more engagement, too. If you want to check out my before and after’s you can see them on my Instagram!
Preparing for at home photoshoots
I always make Pinterest my first stop when brainstorming any blog shoot, and these quarantine shoots are no different. In fact, I made an entire board of quarantine content you can follow here.
For me, I decide on one element I know that I want to include. Maybe it’s a piece of clothing, maybe a prop, or maybe a setting. For example, if I wanted to shoot in my kitchen, I would search “kitchen lifestyle shoot.” I’d scroll and save the posts that I found most compelling and inspiring.
The thing is, we’re not going to copy shoots (unless you’re going to go all out and credit the heck out of the original photog/model – @thegracemattei recently did a great Harry Styles recreation.)
Instead, we are going to figure out what we like about the pictures and what elements draw us to it and try to incorporate those into our own at home photoshoots.
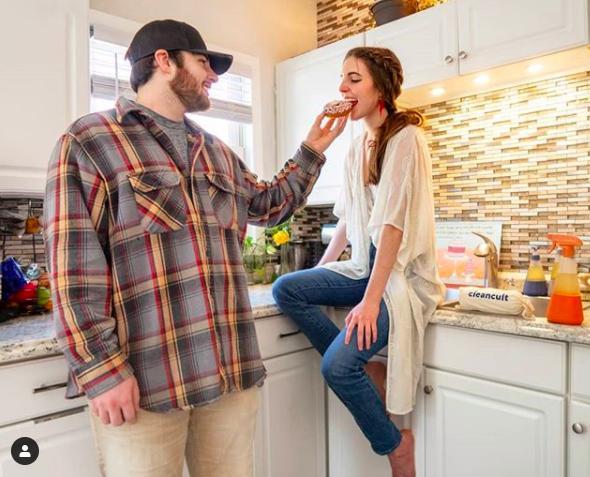
When I shot this campaign, I saw a lot of really cute photos of girlfriends sitting on their countertops kissing their boyfriend / husband. I’m not big on posting PDA online, and I’m a donut enthusiast, so instead I had G feed me a donut. The framing of the photo is similar to inspo pics, but I took it in a direction that felt more true to my brand.
During the planning phase I determine:
- What I’m going to wear
- My hair / makeup
- The background
- The props
- What time I need to shoot to get optimum lighting for my idea
- If I can self timer / remote it, or if I’ll need Garrett’s help
If I’m going to have Garrett help me, I usually will also save pictures for him to reference. It’s nice for me to be able to show him how I want the photo framed and the feel that I’m going for.
Think about what your audience wants
When creating content, remember that people want something:
- Unique
- Visually interesting
- Engaging
Too often people post the same type of photo over and over again and wonder why their engagement is falling. People want something exciting and new, so it’s important to get creative. That doesn’t mean you have to create content off brand, but if you’re in a rut challenge yourself to think outside of the box.
If most of your posts are mirror selfies (I bet you’re killing the selfie game!) try and challenge yourself to do a self timer shoot in a different location. Or if you usually play things safe with your posing, try something that feels a little more daring.
Giving your audience a different spin on the content you usually create for your at home photoshoots can really help boost your engagement and audience retention.
We’re all in this together – use that to your advantage
Right now we are in a crazy time in history where we’re all going through the same hardship at the same time. Looking for silver linings, this is a great time to try and connect with the people who follow you. We’re all in this together, after all, and we automatically all have something in common.
You could post a photo highlighting your work-from-home space as your followers are getting used to their new “offices,” or a picture in your kitchen featuring your bread making station as that seems to be the biggest pandemic craze. (Also, now that I mention it – can someone tell me why my sourdough starter won’t bubble?!)
Considering props for photoshoots
Rarely are props my primary inspiration in shooting a photo. Instead, I come up with an outfit or general idea and the props come next. If I know what I’m going to wear, I consider colors that might compliment my outfit or props that emote the mood I’m trying to portray.
This example is a bit basic, but I got a new sweater I was obsessed with and wanted to highlight. It was big and oversized, and definitely gave off “cozy” vibes. With that in mind, I wanted to emote a lazy Sunday morning feel and thought a big mug would be the perfect prop.
Sometimes when I’m thrifting (hopefully that’s safe to do again soon!) I’ll pick up little knick knacks knowing that they’ll look good in photos. I’ve got a bookshelf in my office with a handful of pretty pieces dying for their time to shine.
Before all of the craziness started, I started adding a handful of props I found on Amazon to a list, too. If you’re interested in beating me to the punch with any of the shoots I’ve got planned, here’s what I’ve found! I shot with a few of them already, but most of them are waiting for their time to shine.
Posing for photos
Let’s be honest, most of us aren’t natural born models. Figuring out how to position your hands, and the most flattering way to tilt your head takes practice and a lot of trial and error. When I’m posing for photos, I have a few go to poses I start with to loosen up.
These are the poses that I know work for me and if any of my more creative ideas don’t work out I know I’ll get at least a few postable pics.
Focusing on movement
I think the most gorgeous photos are the ones caught in motion. Not when you’re standing stiff waiting for the camera to click, but when you’re in between poses or spinning or dancing or skipping or jumping.
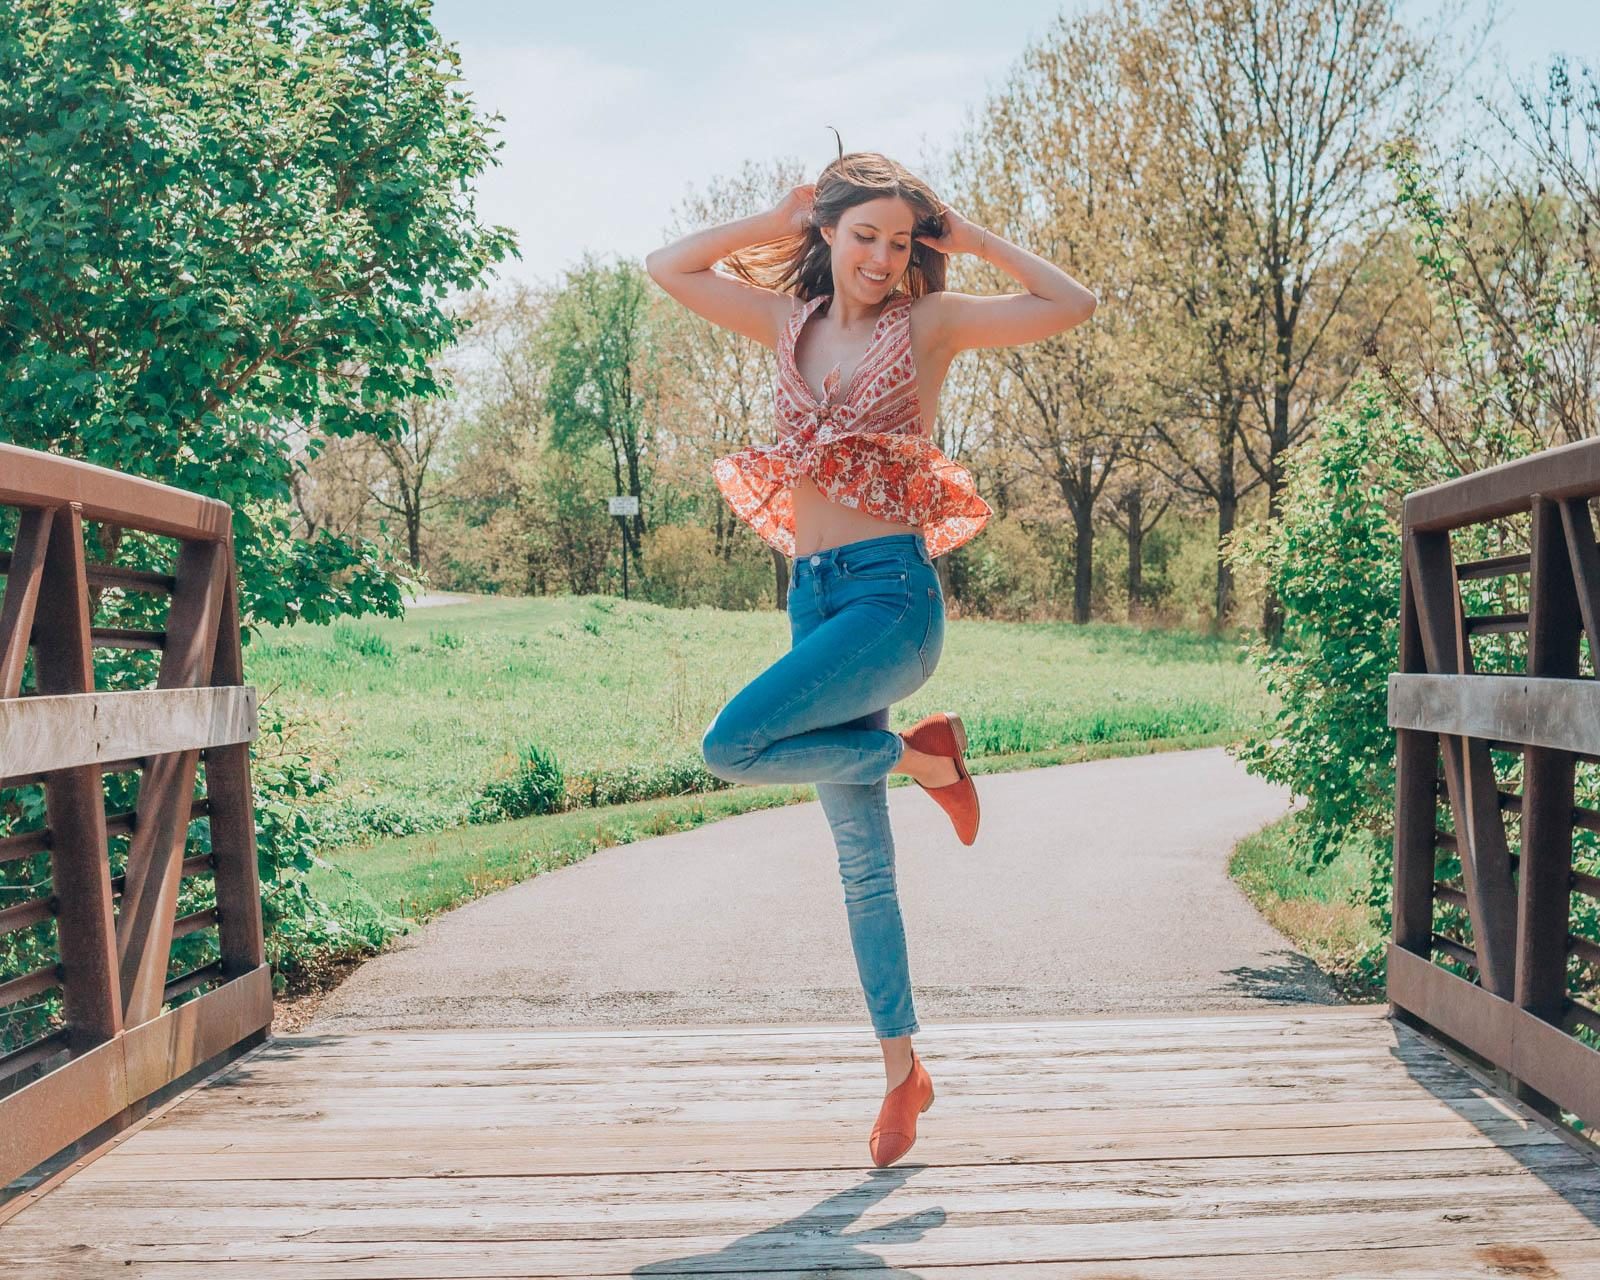
Motion makes the photo feel very organic, like somebody is getting a peek into a real moment of your life, not something you stopped and posed for. Whether that means flipping your hair or throwing the hem of your skirt, capturing motion is a great way to create more compelling visual content.
And guess what – 99% of the time it feels as awkward as heck. But do it anyhow because nobody else is judging you as much as you are. In the above photo, I ran and jumped a dozen times as joggers ogled and bicyclists whizzed by. I felt like a goofball, but put on my brave face and kept going for it anyhow.
If you’re shooting with a digital camera, I usually put my setting on sports mode and have the self timer take 10 photos in a burst. (Or, in the above photo, I had Garrett take it on burst mode.)
Others have told me they shoot video and screenshot the frames they like, but I’ve never been able to get crisp photos doing this. (Tell me your secrets if this is what you do please!)
My go to motions:
- Throwing my arms to either side
- Jumping and trying to create interesting lines with my arms and legs
- Spinning and flipping my hair
- Throwing my hair
- Walking towards the camera
Sitting poses
In home shoots especially, it’s often appropriate to be sitting. Whether you’re on your bed, on a couch, setting on your steps – there’s a lot of opportunity.
When you’re sitting for photos, typically the most flattering poses will:
- Focus on good posture – you’re almost going to want to exaggerate it
- Don’t sit with your legs pressed together – cross them at the knee or ankle, or try something dynamic like this
- Create space between your body and arms – people tend to just kind of flop their arms where they land in sitting poses, try to be intentional\
- Sit in unusual ways – sometimes the weirdest positions look the best on camera.
Get inspired for your photoshoot
Like I said, my favorite place to find inspiration is Pinterest. You can find my board featuring at home photoshoots inspiration here.
I am also constantly getting inspired by other creators on Instagram. There are so many that I love to follow, but here are a few that I’m constantly blown away by:
- Kylie Katich
- Autum Rainn
- Grace Mattei
- Dom Bagnoche
- Thatsosofi
- Macey Marie
- Quigley Goode
- Chelsea H
- Paige Arminta
Get outside (if it’s safe!)
I live in a midwest neighborhood where I’m lucky enough to be able to spend a lot of time outdoors far, far away from other people. With that in mind, I haven’t had trouble creating content outdoors, either.
I know a lot of you likely live in exciting cities filled with exciting people, and finding space to shoot can be hard. But, if you’re in a position to do so, try moving your shoot outside. Whether that means to your backyard, a fire escape, a quiet street, wherever try venturing outside for some inspiration.
Outdoor photoshoots are not what this post is about, so I’ll leave this section at that.
Editing your at home photoshoots
Edits can really make or break a picture. I’ve had great pictures that I’ve edited poorly (you live and learn) that flop on IG. And I’ve also had meh pictures that I’ve smacked a cool edit on that did great.
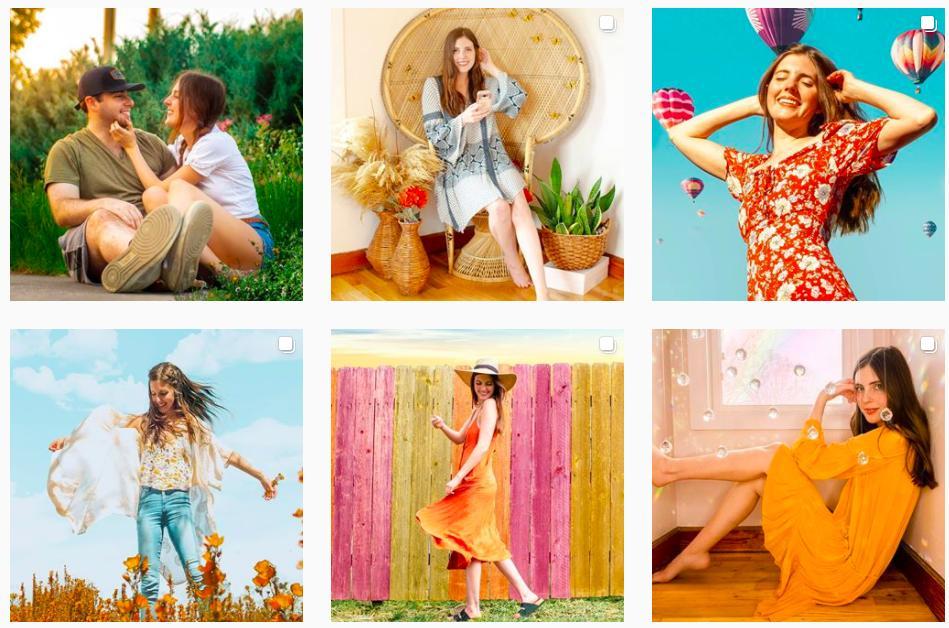
For me, I focus on two things with my edits, the obvious tweaks like lighting and color balance, but also trying to add some *magic* to the photos if they seem boring. I’ve been having a lot of fun bending reality by adding flowers or hot air balloons or rainbows to photos.
I do all of my editing using Lightroom and Photoshop, but everything I do can be accomplished using free or very cheap apps, too.
I recommend every creator get the free Lightroom Mobile app and learn how to use it. In my opinion, it’s the best app for making the baseline adjustments. Most of my photos I use the lighting tools to lift the shadows, lower the highlights, warm the photo up, adjust exposure as needed, and tweak the colors.
From there, I usually throw it into photoshop to add the magic, but apps like PicsArt are great for this, too. Autum Rainn has a few PicsArt tutorials in her IG highlights you can check out for inspo!
Who inspires you?
If you know any bloggers or online creators killing the quarantine content game with at home photoshoots, let me know! I’d love to check them out and add them to this post!